Hey there, lovely! Valentine's Day is coming, and you're probably already thinking about the perfect outfit and a romantic dinner. But have you considered your nails? This year, let's ditch the complicated salon appointments and embrace the charm of easy, adorable nail art, even if your nails are on the shorter side. This guide will show you how to create super-cute Valentine's Day nail designs that are totally achievable, no matter your skill level. Get ready to make your nails as fabulous as you are!
Beyond the Basic Red Heart: Trendy Tweaks for Short Nails
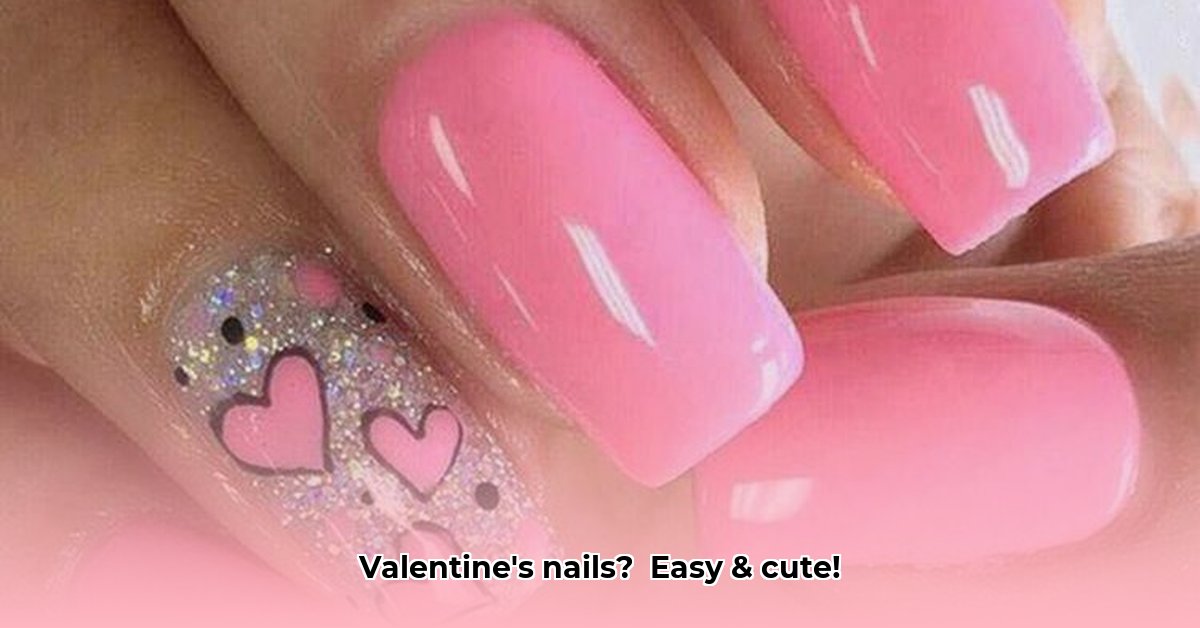
Let's be honest, a classic red heart is always a winner, but sometimes we crave something a little more. This year, let's add a fresh twist to tradition! Think soft, romantic pinks instead of bold reds. A subtle twist on the French manicure, with a delicate pink tip, adds a touch of romance without being overwhelming. How about a negative space mani? Just paint a heart outline, leaving the center of the nail bare for a chic, minimalist look. Adding a single accent nail with some glitter creates a playful pop of sparkle.
For extra elegance, try tiny metallic hearts or pearl accents. These small details make a huge difference! Feeling adventurous? An ombré effect, blending pretty pinks and reds, creates a gorgeous gradient that's surprisingly easy to achieve and looks incredibly sophisticated. This Valentine's Day is all about finding your perfect balance of cute and chic!
Easy-Peasy Valentine's Day Nail Art: A Step-by-Step Guide
Ready to get creative? Let's create a simple, stunning heart design – it's easier than you think!
Step 1: Prep Work! First, gently clean and shape your nails. A softly rounded or squared shape works best for shorter nails.
Step 2: Protective Base Coat. Apply a thin layer of your favorite base coat. This protects your nails and makes your polish last longer. Let it dry completely before moving on.
Step 3: Colorful Countdown! Choose your perfect Valentine's Day shade – a classic red, soft pink, or a neutral like nude or beige. Apply two thin coats for even coverage, letting each coat dry thoroughly.
Step 4: Heart-Shaped Magic! Now for the fun part! Use a fine-tipped nail art brush (or even a toothpick!), and carefully paint a small heart on your ring finger (or any finger you prefer!). For a subtle look, try a reverse heart – paint the heart shape around a clear section of the nail (negative space).
Step 5: Top Coat Triumph! Finish with a top coat for extra shine and durability. This protects your design and keeps it looking fresh for days.
Level Up Your Valentine's Day Manicure: Variations & Enhancements
Want to take your design to the next level? Experiment! Add some tiny glitter for extra sparkle. Or try adding texture with small heart-shaped studs or other cute embellishments. Remember, balance is key, especially with shorter nails. Less is often more!
At-Home Mani vs. Salon Mani: A Quick Comparison
Considering a DIY manicure or a professional salon experience? Here’s a quick rundown:
| Feature | At-Home Manicure | Salon Manicure |
|---|---|---|
| Cost | Budget-friendly! | Can be more expensive |
| Time Commitment | Flexible! | Requires scheduling; takes longer. |
| Convenience | Do it anytime, anywhere! | Requires travel and appointment scheduling. |
| Precision | May be tricky for intricate designs. | Expert precision for flawless results. |
| Relaxation | Relaxing or stressful, depending on your skills! | A chance to unwind and be pampered. |
The best choice depends on your budget, time, and desired level of precision.
Remember, the most important thing is to have fun and express your personal style! Experiment with different colors and designs – the possibilities are endless! Share your creations with us – we'd love to see your gorgeous Valentine's Day nails! Happy painting!